Azure Sentinel is a cloud based SIEM* and SOAR** solution.
As it’s still in preview, I wanted to test out few of Its capabilities.
In this post we will see how we can detect RDP brute-force attempts and respond using automated playbooks in Azure Sentinel.
[*SIEM : Security Incident Event Management]
[**SOAR : Security Orchestration Automated Response]
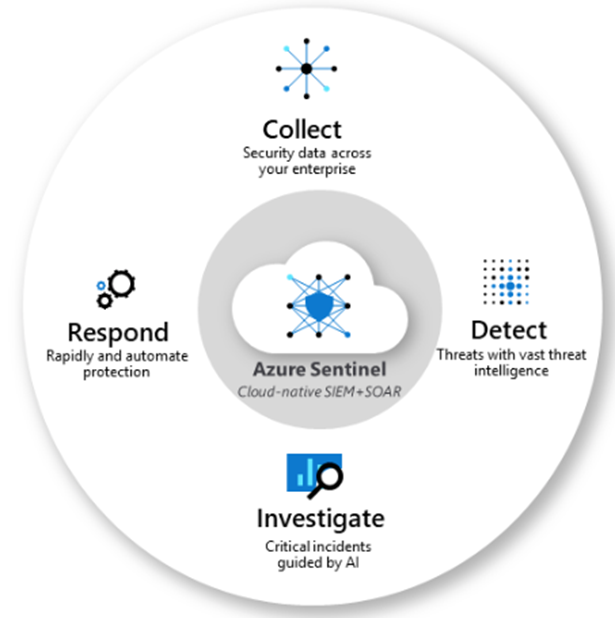
https://docs.microsoft.com/en-us/azure/sentinel/overview
The infrastructure:
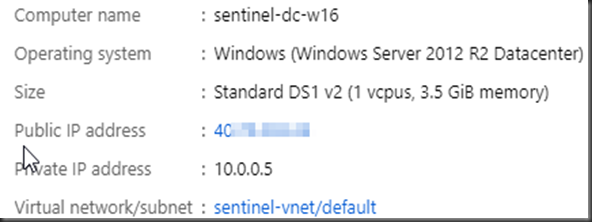
I have couple of virtual machines in Azure which have RDP opened (sure, I am the first one to keep that opened) 🙂 Below is one of the Win 2012 machine.
The Attack:
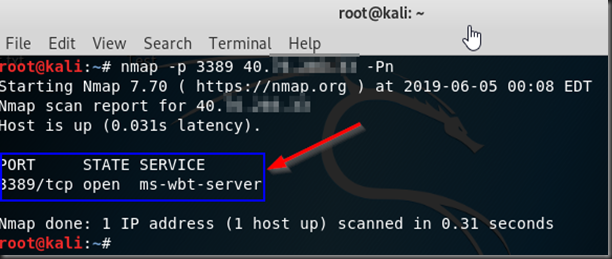
Attackers always the scan the whole CIDR to find the services running on the machines in the range. In this example, simulating the scan, I will use only one machine ( the above one) from the Kali VM looking if the RDP (port 3389) is opened.
nmap -p 3389 IPAddress –Pn
For brute-force, we will use crowbar.
Clone the repository:
git clone https://github.com/galkan/crowbar.git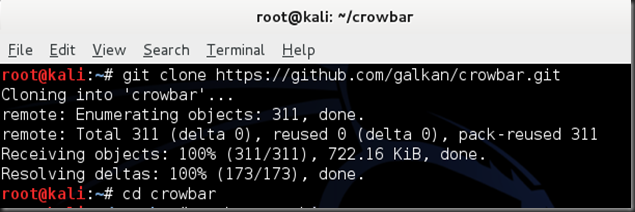
I have separate files for usernames(userlist) and passwords(passwordlist) which will be used by Crowbar in combination to attempt to login to the above machine via RDP.
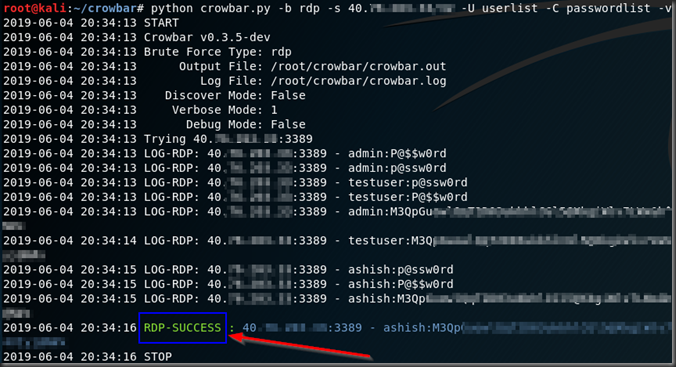
python crowbar.py -b rdp -s ipaddress -U userlist -C passwordlist –v
-b indicates target service. In this case Its rdp but crowbar also supports openvpn, sskkey and vnckey.
-v indicates verbose output
You see the combination which has “RDP-SUCCESS” is the right combination of user name and password which was brute-forced for successful login via RDP. Other attempts failed. Of course, I have the right user name and password in the file. 🙂
Azure Sentinel
Now lets get to Azure Sentinel. As noted above, Its a cloud based SIEM.
You can quickly locate “Azure Sentinel” from the search bar.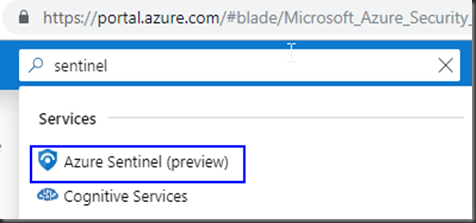
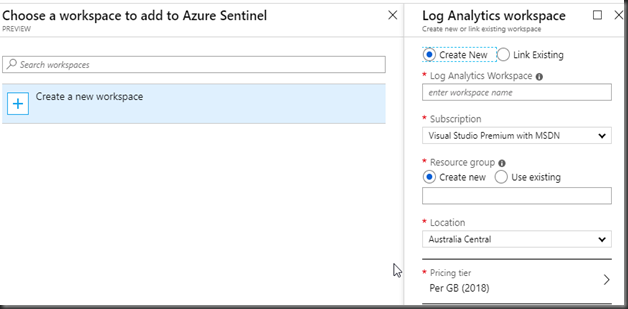
Sentinel manages all Its data in a log analytics workspace. If you already have one, you can reuse or create a new one.
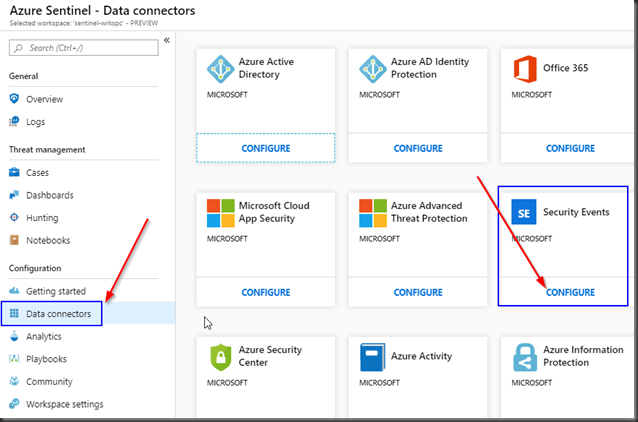
One of the first thing you notice in Azure Sentinel is a number of in-built Data Connectors available to collect data from different sources. Not only that includes Azure native data sources such as Azure AD, Office 365, Security center to name a few but also third parties like Palo Alto, Cisco ASA, Checkpoint, Fortinet and F5.
Pretty sure the list will only get longer.
For the purpose of this blog post, we will focus on the “Security Events” by clicking on “Configure”.
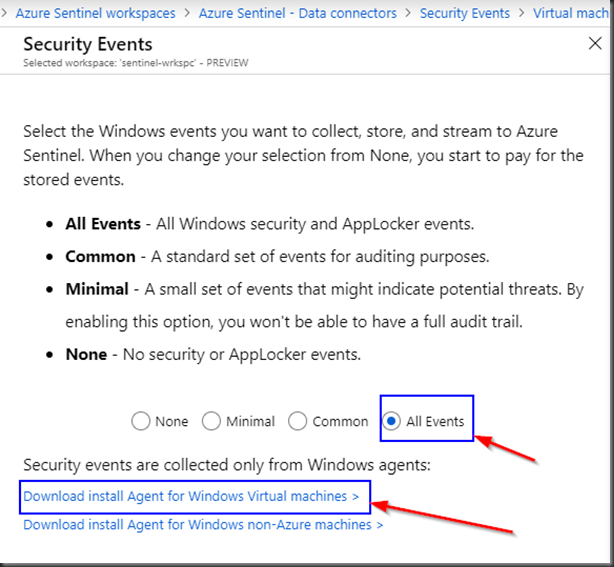
Select “All events”.
Click on “Download install Agent for Windows Virtual machines”.
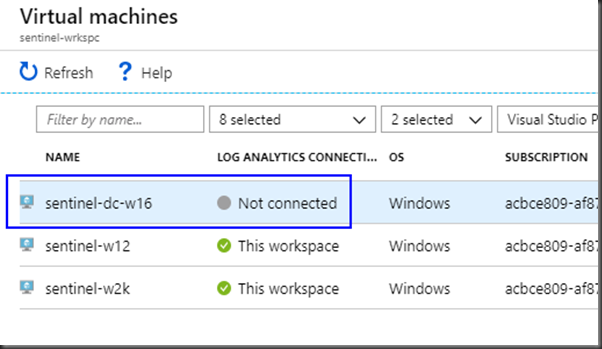
Select the Virtual machine where the agent will be installed.
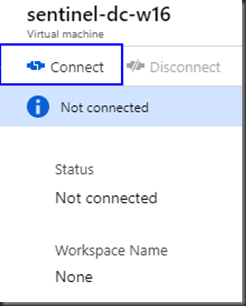
Click “Connect”.
The “Connect” process takes few minutes to complete.
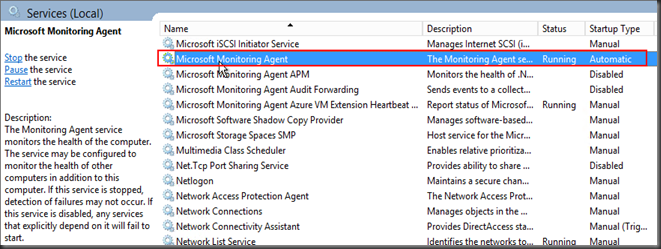
When the machine is shows “Connected” in Azure portal, you will see the Microsoft Monitoring Agent (MMA) service running on the machine which will upload the logs to the Azure sentinel workspace for the subscription.
Start writing some queries
Azure Sentinel uses Kusto Query Language for read-only requests to process data and return results.
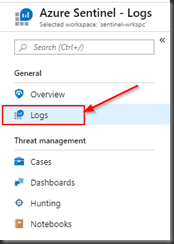
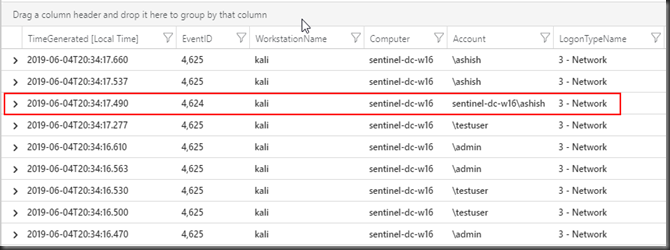
In the sentinel workspace, click on “Logs” and use the below query which is basically looking for security events with successful login event (EventId 4624) and unsuccessful login event (EventId 4625) originating from a workstation named “kali”.
Note the highlighted event was the only successful attempt(EventId 4624) and rest were failures (4525).
SecurityEvent
| where (EventID == 4625 or EventID== 4624) and WorkstationName == “kali”
| project TimeGenerated, EventID , WorkstationName,Computer, Account , LogonTypeName , IpAddress
| order by TimeGenerated desc
Creating Alerts
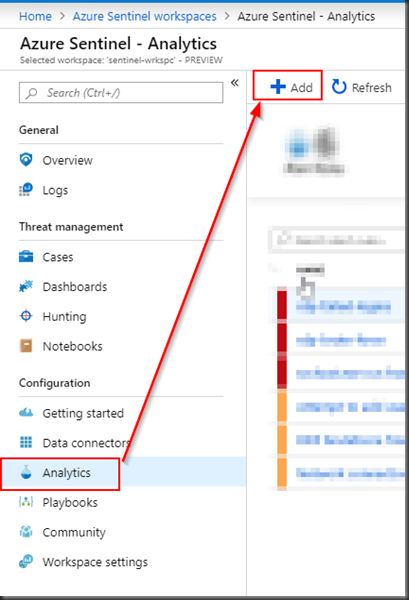
Create an alert for the above use case by clicking “Analytics” > Add
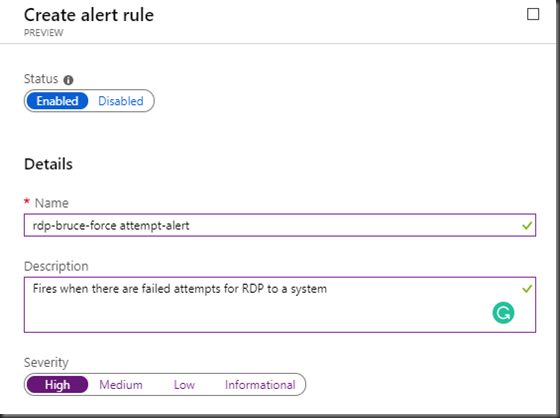
Give a name to the alert, provide a description. and set the severity.
Set the alert query to detect any RDP login failure:
SecurityEvent
| where EventID == 4625
| project TimeGenerated, WorkstationName,Computer, Account , LogonTypeName , IpAddress
| order by TimeGenerated desc
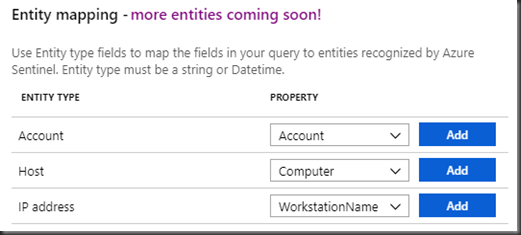
Set the entity mapping. These properties will be populated from the projected fields in the query above.
Will be very useful information when we build playbooks. As you can see, there are only three properties which could be mapped at this point but more to come.
In this example, Account Name used for the attempted login, the host where It is being tried on and the workstation where It is tried from will be populated.
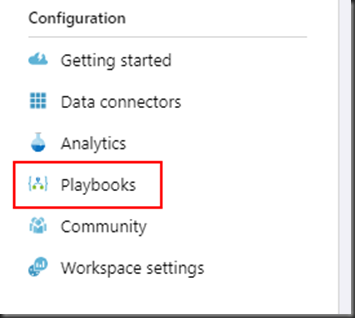
Playbook
Playbooks in Azure Sentinel are basically Logic apps which is really powerful not only because of the inbuilt templates but also because they can be heavily customized.
Sorry, I just wanted to remind myself again and you, dear reader that logic apps are really powerful. 🙂
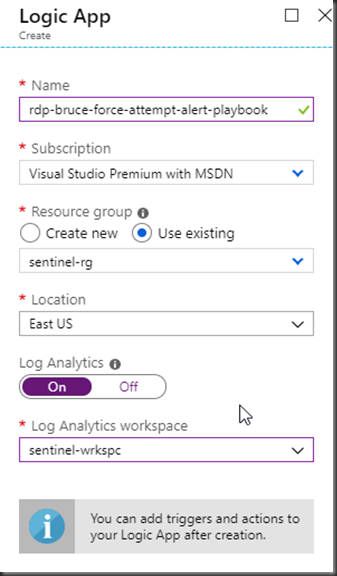
Create the logic app:
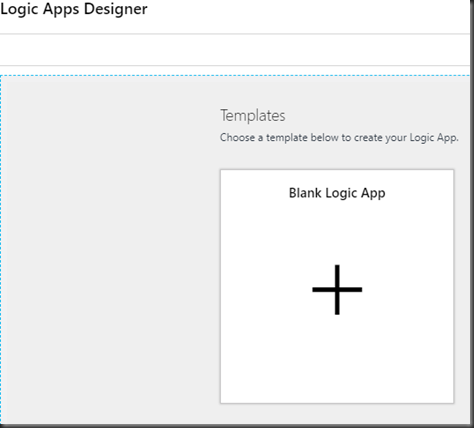
In the designer, click on “Blank Logic App”
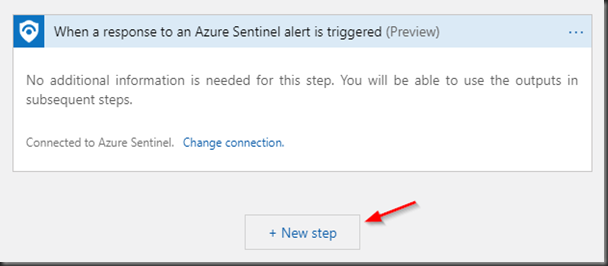
We first need to define the trigger. In this case It would be when the response to an alert is triggered in Azure Sentinel.
Search “Sentinel” in the textbox and you will find the trigger. Click on the trigger and the trigger will be added as a first step.
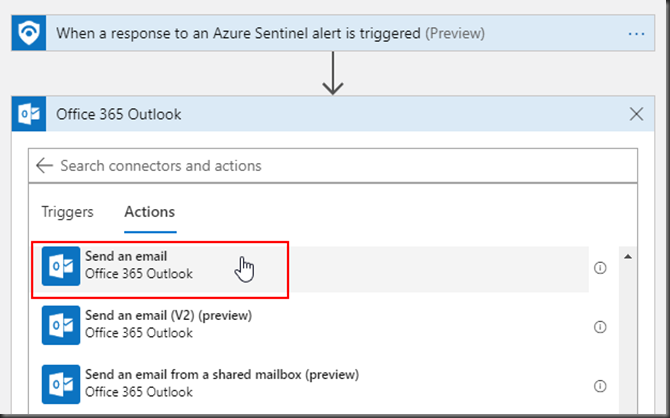
We will send an email to respective team (e.g. Security Operations) when this event happens. In this case I am sending the email to my Office 365 email address.
You will need an Office 365 tenant(sign up for free trial here) to send email.
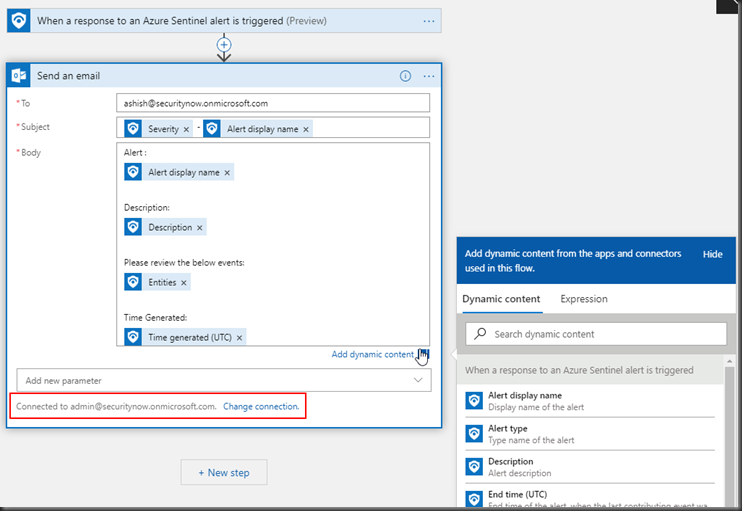
In the below example, I already one and connected. If I didn’t, all I had to do is to sign-in with my admin office-365 account and connection would be available to send emails.
As you click through the subject and body, you will be prompted to select the Dynamic contents which will have relevant data in this case.
Cases
When an alert fires, I creates a case and you can execute the relevant playbook for the case.
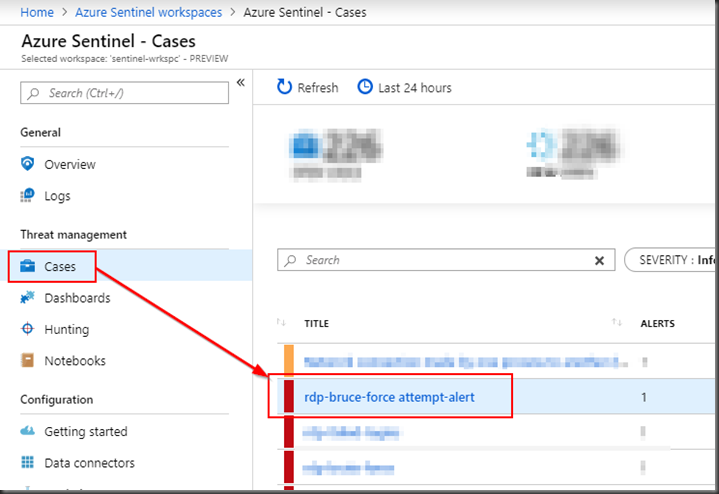
In this example, we have a alert configured named “rdp-bruce-force attempt-alert”.
Every time that alert fires, I will create a new case with the same name as the alert with a case Id.
We can then execute the relevant playbook on the case. In this example, we will execute the playbook we created before “rdp-bruce-force attempt-alert-playbook”.
In the Sentinel workspace, click on “Cases” to review all the cases and click on the case which got created for the brute-force attempt.
At the bottom the details pane of the case, click on the “View full details”.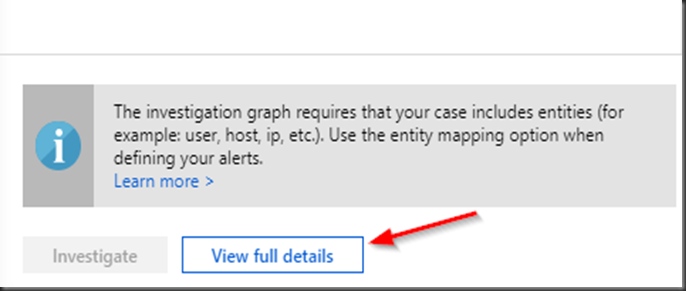
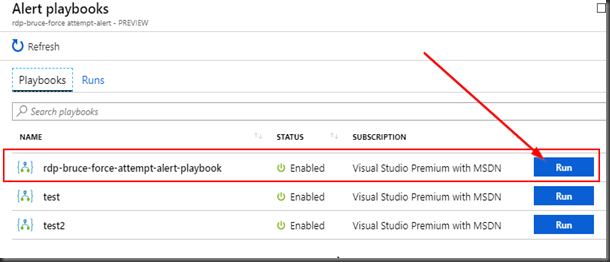
Click “View Playbooks”
Click on “Run” for the playbook we want to execute.
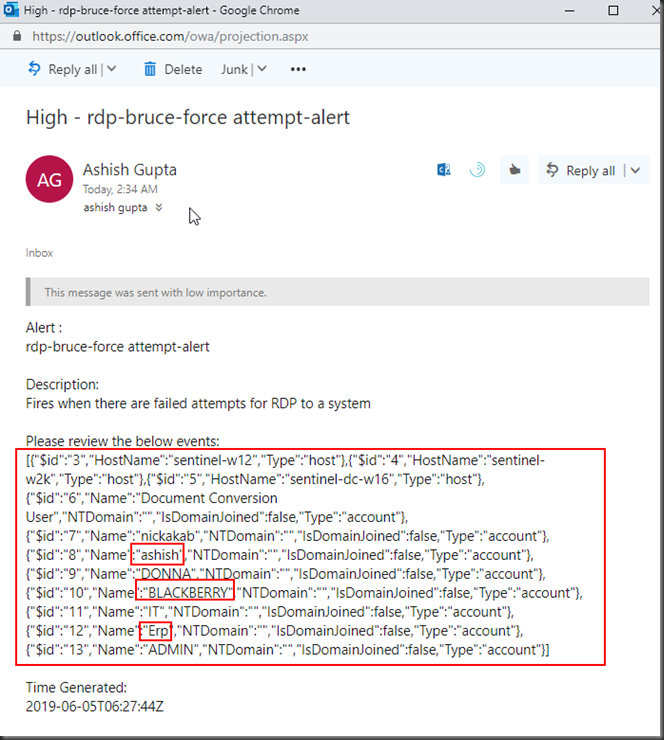
Below is the email as a part of the playbook I got with the account names in the security event logs.
Hope this helps! 🙂
